Talk to Our Engineer, Get a Solution in 20 minutes
Our engineers are the expert in vacuum forming products, you can let them know any requirements and specific demands, then they work out the solution soonest and send back it for free.
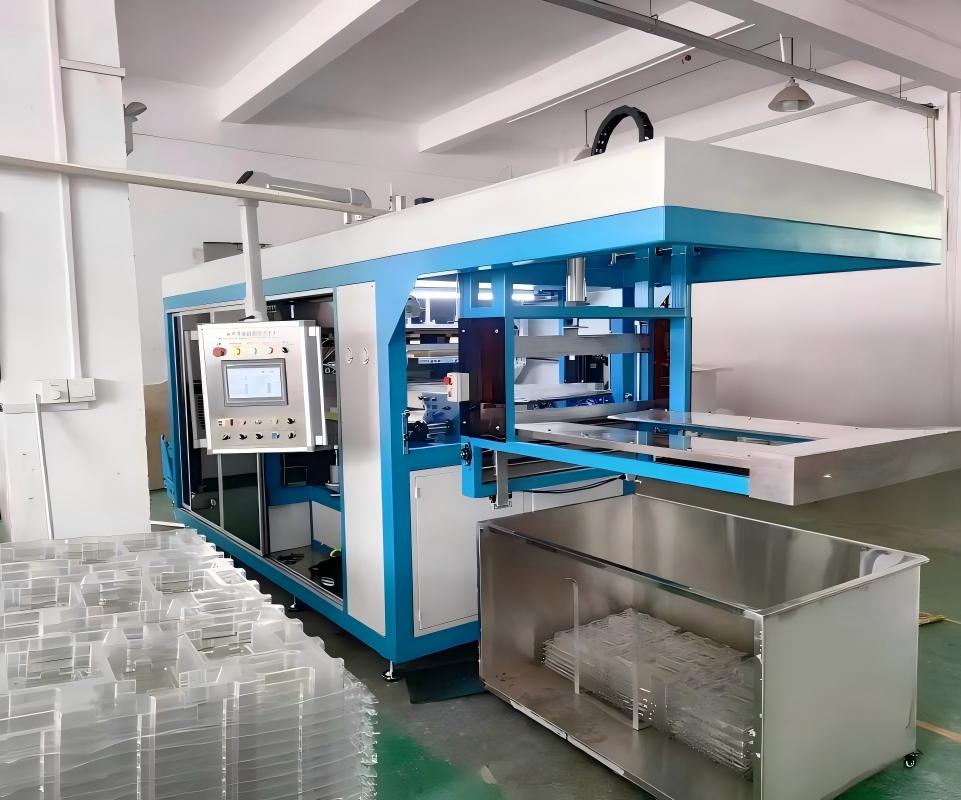
Vacuum forming remains one of the most cost-effective, fast, and flexible ways to turn thermoplastic sheets into protective, attractive packaging. This guide goes deeper than a product brochure — you’ll get practical design rules, material selection tradeoffs, manufacturing strategies, regulatory checkpoints (especially for medical and food use), and concrete ways to squeeze cost, time, and carbon out of your packaging program. For comparison, we’ve studied competitor approaches and intentionally add extra layers: lifecycle thinking, validation checklists, rapid-tooling options, and inline quality controls you’ll rarely see in standard pages.
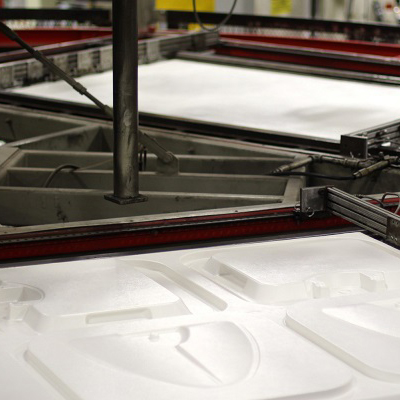
Vacuum forming heats a thermoplastic sheet until it’s pliable, then draws it over (or into) a mold while vacuum removes the air so the sheet conforms to the tool. It’s fast for low-to-medium volumes, excellent for larger parts, and especially economical when tooling cost must stay low. Commonly formed plastics include ABS, PETG, HIPS, PVC, polycarbonate, and HDPE; each has distinct forming temperatures, shrinkage, clarity and strength characteristics you must match to the product’s function.
Beyond simple vacuum forming there are techniques that expand capability:
Choose materials by balancing mechanical needs, appearance, regulatory compliance, and end-of-life plan:
Start the project with a focused intake that captures:
Capturing these early prevents late rework and mis-spec’d materials.
Use rapid prototyping to validate fit and user interaction:
Prototype for “ease of use” in medical sterile presentation (aseptic handling), and iterate the tray geometry for pick-and-place automation where relevant.
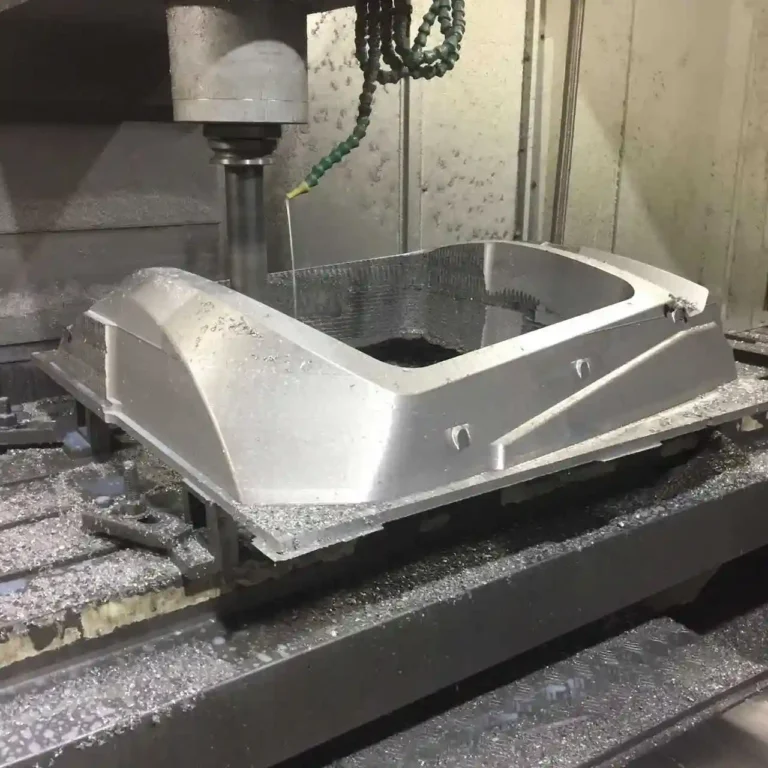
Adopt a staged tooling approach:
Design molds for serviceability: replaceable inserts for pockets that change between SKUs; draft angles and radiused edges to extend tool life.
Set up with these quality controls to avoid downstream rejects:
Reduce cost per unit without quality loss:
Real cost reductions focus on total cost of ownership:
Vacuum-formed trays are ideal for electronics: they provide controlled spacing for sensitive parts, can integrate ESD-safe materials/coatings, and are easy to stack for automated lines. Design for thermal dissipation if components remain powered in transit.
Medical packaging is one of the highest-risk uses — you must design for aseptic presentation, validated sterile barrier integrity, and sterilization compatibility (EO, gamma, steam as relevant). Conform to ISO 11607 for design and validation of sterile barrier systems and perform ongoing seal/aging studies. Robust documentation and process validation are non-negotiable.
Focus on food-grade resin choices, barrier performance (oxygen/moisture), and HACCP principles. Consider laminated solutions or co-extruded sheets for improved barrier properties and label migration testing. Also design trays for consumer convenience (easy-open, resealable options if required).
Combine vacuum-formed shells with paperboard, corrugated inserts, foam, or molded pulp to create hybrid packaging that reduces plastic content while preserving protection — great for branded unboxing and sustainability targets.
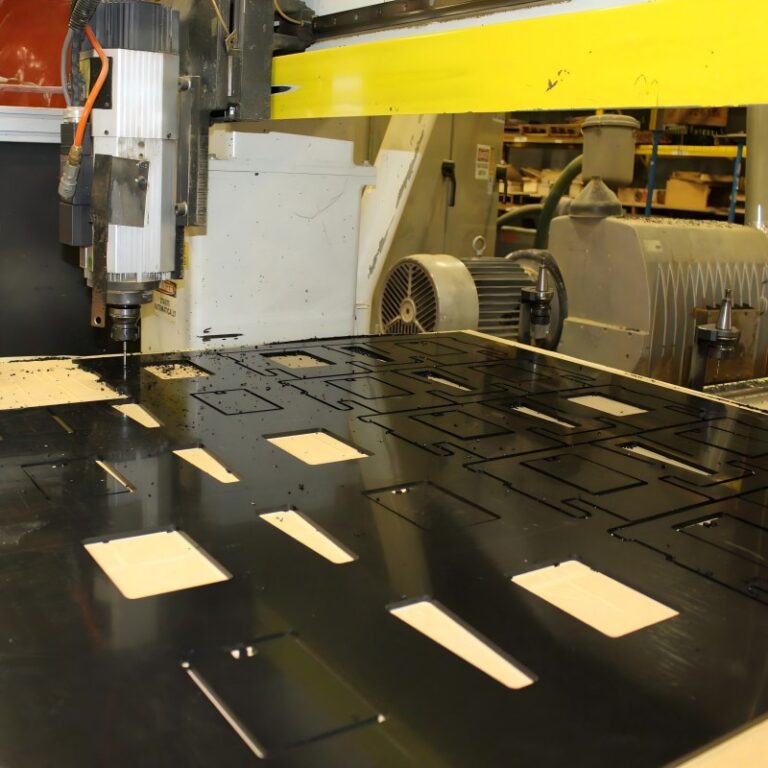
When cosmetic finish is critical, use pressure forming and plug assists to eliminate sink marks and obtain smoother, feature-rich surfaces that rival injection molding for appearance. For tight tolerances, consider post-forming CNC trimming and edge finishing.
Add value through surface treatments:
Q: What design limitations should be considered for vacuum forming?
A: Avoid deep, narrow undercuts, tiny islands, and areas that would trap air or material. Keep draw ratios within the material’s capability (rule of thumb: aim for draw ratios below about 1.5–2.0 for simple parts; use plug assist or pressure forming for higher draws). Always specify minimum wall thickness and radii early in design.
Q: How long does custom packaging development typically take?
A: Timeline depends on complexity and tooling strategy. A typical roadmap:
Practical, actionable checklist to get ROI faster:
Custom vacuum forming can deliver elegant, cost-effective packaging when engineering, material science, and manufacturing strategy are aligned. The differential between a commodity tray and a packaging system that protects, sells, and reduces waste lies in early decisions: material selection, validation planning, and a staged tooling approach that lets you iterate cheaply and scale confidently.

TKP Plastic is China's leading provider of vacuum forming solutions. We are defined by our commitment to innovation, uncompromising quality, and total customer satisfaction. Our expertise enables us to deliver projects that excel in cost-effectiveness, intricate design, and sustainable manufacturing. Partner with TKP to bring your vision to life with precision and reliability.