Talk to Our Engineer, Get a Solution in 20 minutes
Our engineers are the expert in vacuum forming products, you can let them know any requirements and specific demands, then they work out the solution soonest and send back it for free.
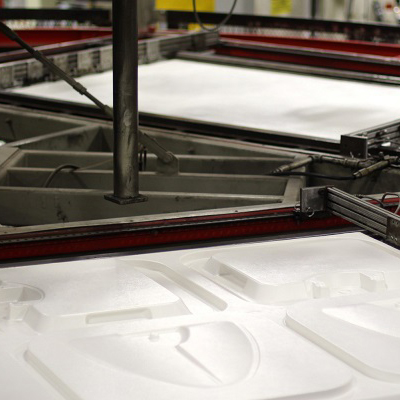
Introduction Vacuum forming is deceptively simple: heat a thermoplastic sheet, drape it over a mold, pull a vacuum, and you have a formed part. The choice of mold, however, determines surface quality, cycle time, repeatability, cost, and whether you can scale from prototype to production. This guide goes beyond the basics — we compare the common mold types, show practical design and production tips, cover sustainability and hybrid approaches, and give a compact decision matrix so you can choose the right mold for your project quickly.
What they are: Hand- or CNC-carved molds made from hardwoods (e.g., poplar, birch, MDF for prototypes). Pros: Very low tooling cost, fast to iterate, excellent for large-format, low-volume parts. Wood accepts detailed textures and is forgiving to one-off finishing. Cons: Dimensionally unstable in humid environments, limited longevity, surface must be sealed/finished for smooth parts. Not ideal for fine tolerances or long production runs. Best for: Prototyping, simple low-volume batches, large trays and packaging forms. Design & production tips:
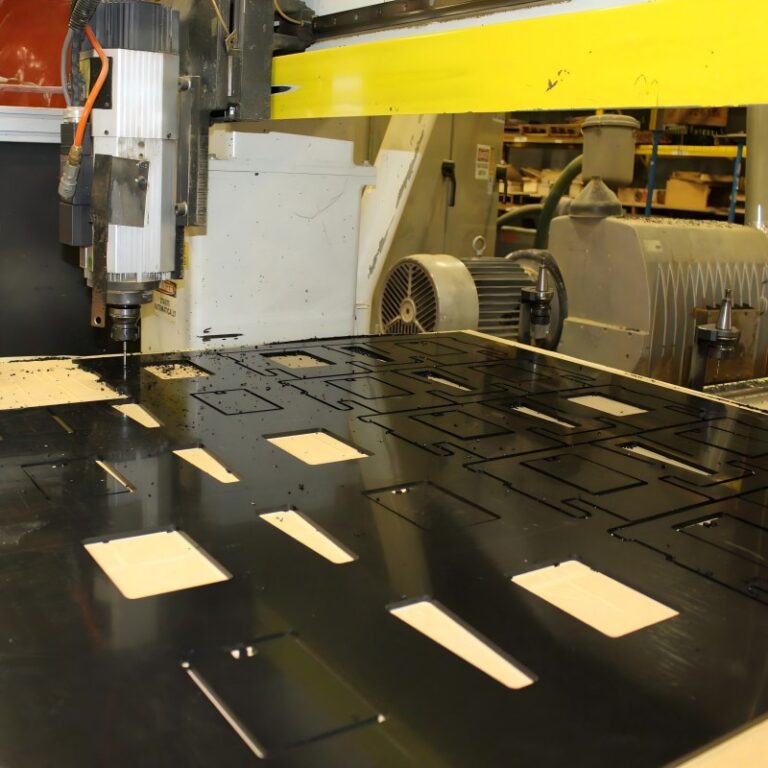
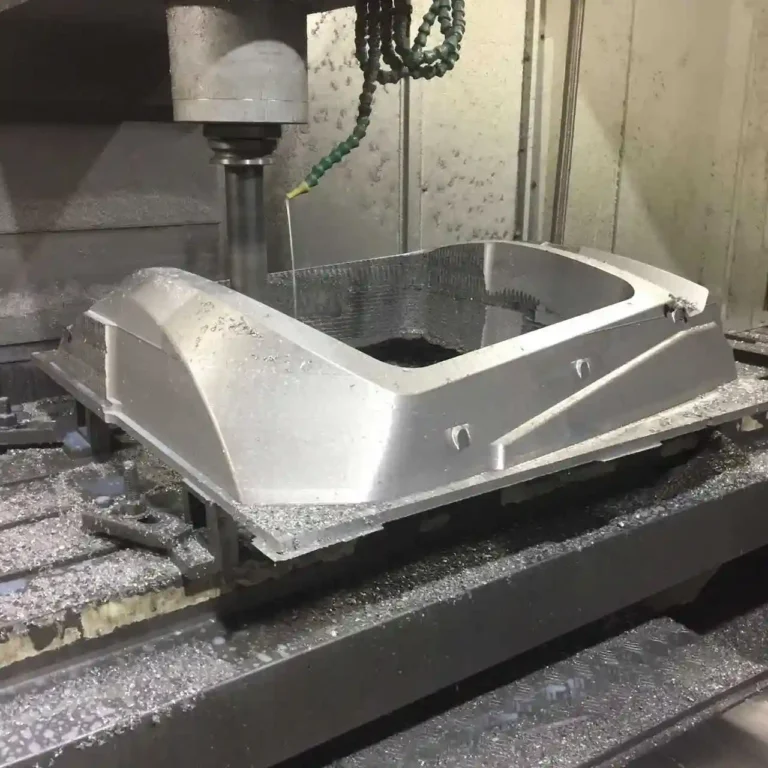
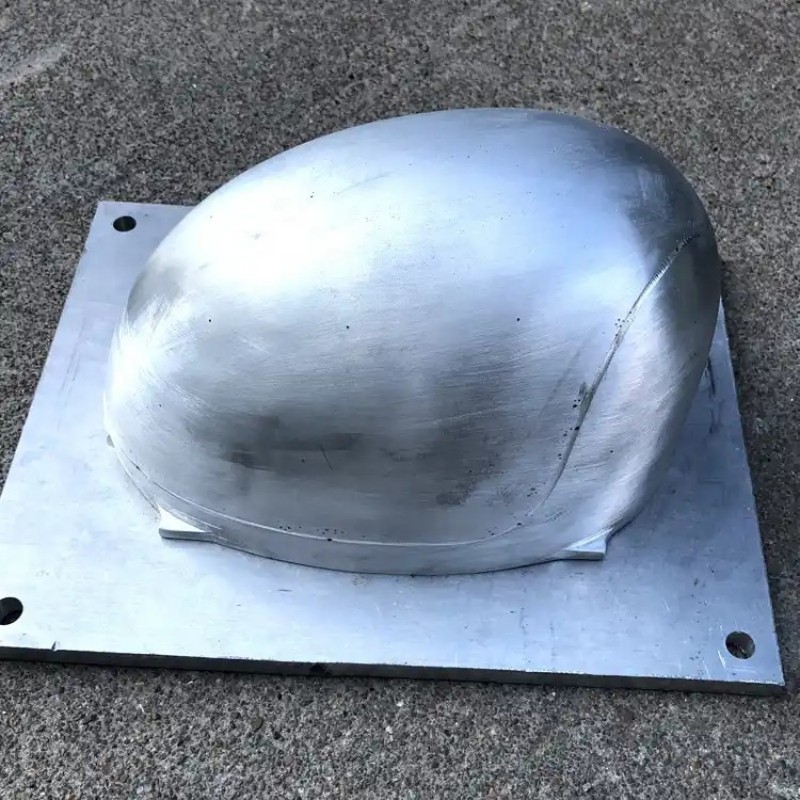
What they are: CNC-machined solid aluminum molds or cast aluminum tooling. Pros: Excellent thermal conductivity → faster cycle times and tighter, repeatable tolerances. Long life, fine surface finishes possible (mirror polish). Can be used with plug assist and matched tooling. Cons: Higher upfront cost; machining complex pockets increases price. Heavier — requires robust presses/fixtures. Best for: High-volume production, parts requiring accurate dimensions and high-quality surface finishes (appliances, automotive interiors). Design & production tips:
What they are: Additive manufacturing (FDM, SLA, SLS) used to create molds or plugs. Pros: Fast iteration, complex undercuts (when used as a plug for matched tooling), low-cost for small runs, rapid design changes. Great for custom textures and prototypes. Cons: Surface finish depends on printer and post-process; certain plastics can degrade at forming temperatures unless coated. Limited lifespan compared to metal. Best for: Rapid prototyping, low-volume production, texture testing, complex geometry mockups. Design & production tips:
What they are: Molds built from fiber-reinforced materials — fiberglass/GRP, carbon-fiber reinforced epoxy, or layered laminates. Pros: Lighter than metal, stiff and stable, can achieve smooth finishes with gelcoat. Cheaper than aluminum for medium runs, good dimensional stability. Cons: Labor- and skill-intensive to produce; thermal conductivity is low compared to metal (affects cycle time). Best for: Medium-volume production, large formers where aluminum is cost-prohibitive, aesthetic parts where gelcoat finish is desired. Design & production tips:
What they are: Cast or machined molds using engineering epoxies (often loaded with fillers like alumina) to increase strength and thermal stability. Pros: Lower cost than machined aluminum, can be high-strength and dimensionally stable, good surface finish with polishing. Excellent for medium-run tooling. Cons: Still less durable than aluminum; long lead times for cures. Care required with exotherm and thin sections. Best for: Medium-volume parts, jigs, master plugs for composite molds. Design & production tips:
What they are: Cast molds made from rigid or semi-rigid polyurethanes. Often used as production molds for vacuum forming or as masters. Pros: Very low cost to make, fast turnaround, good detail reproduction. Flexible urethanes can release complex shapes easily. Cons: Limited heat resistance depending on formulation; not ideal for very hot forming sheets. Lower longevity. Best for: Prototyping, small-run parts, or when flexibility in release is required. Design & production tips:
What they are: Molded silicone (often room-temperature vulcanizing, RTV), typically used as flexible molds or as part of a multi-stage process. Pros: Excellent detail capture and release for undercut or intricate shapes, low-cost for short runs, chemical resistance to some adhesives. Cons: Low thermal conductivity and max temperature limits restrict use with very hot thermoforming processes; silicone can deform under high clamping loads. Best for: Low-temperature thermoplastics, prototyping, or parts that require flexible removal. Also useful for casting secondary components. Design & production tips:
Combine materials (e.g., an aluminum core with a polyurethane face) to get the thermal and wear benefits of metal where needed and the low-cost flexibility of polymers where fine detail is required. This lets you optimize cost and lifetime.
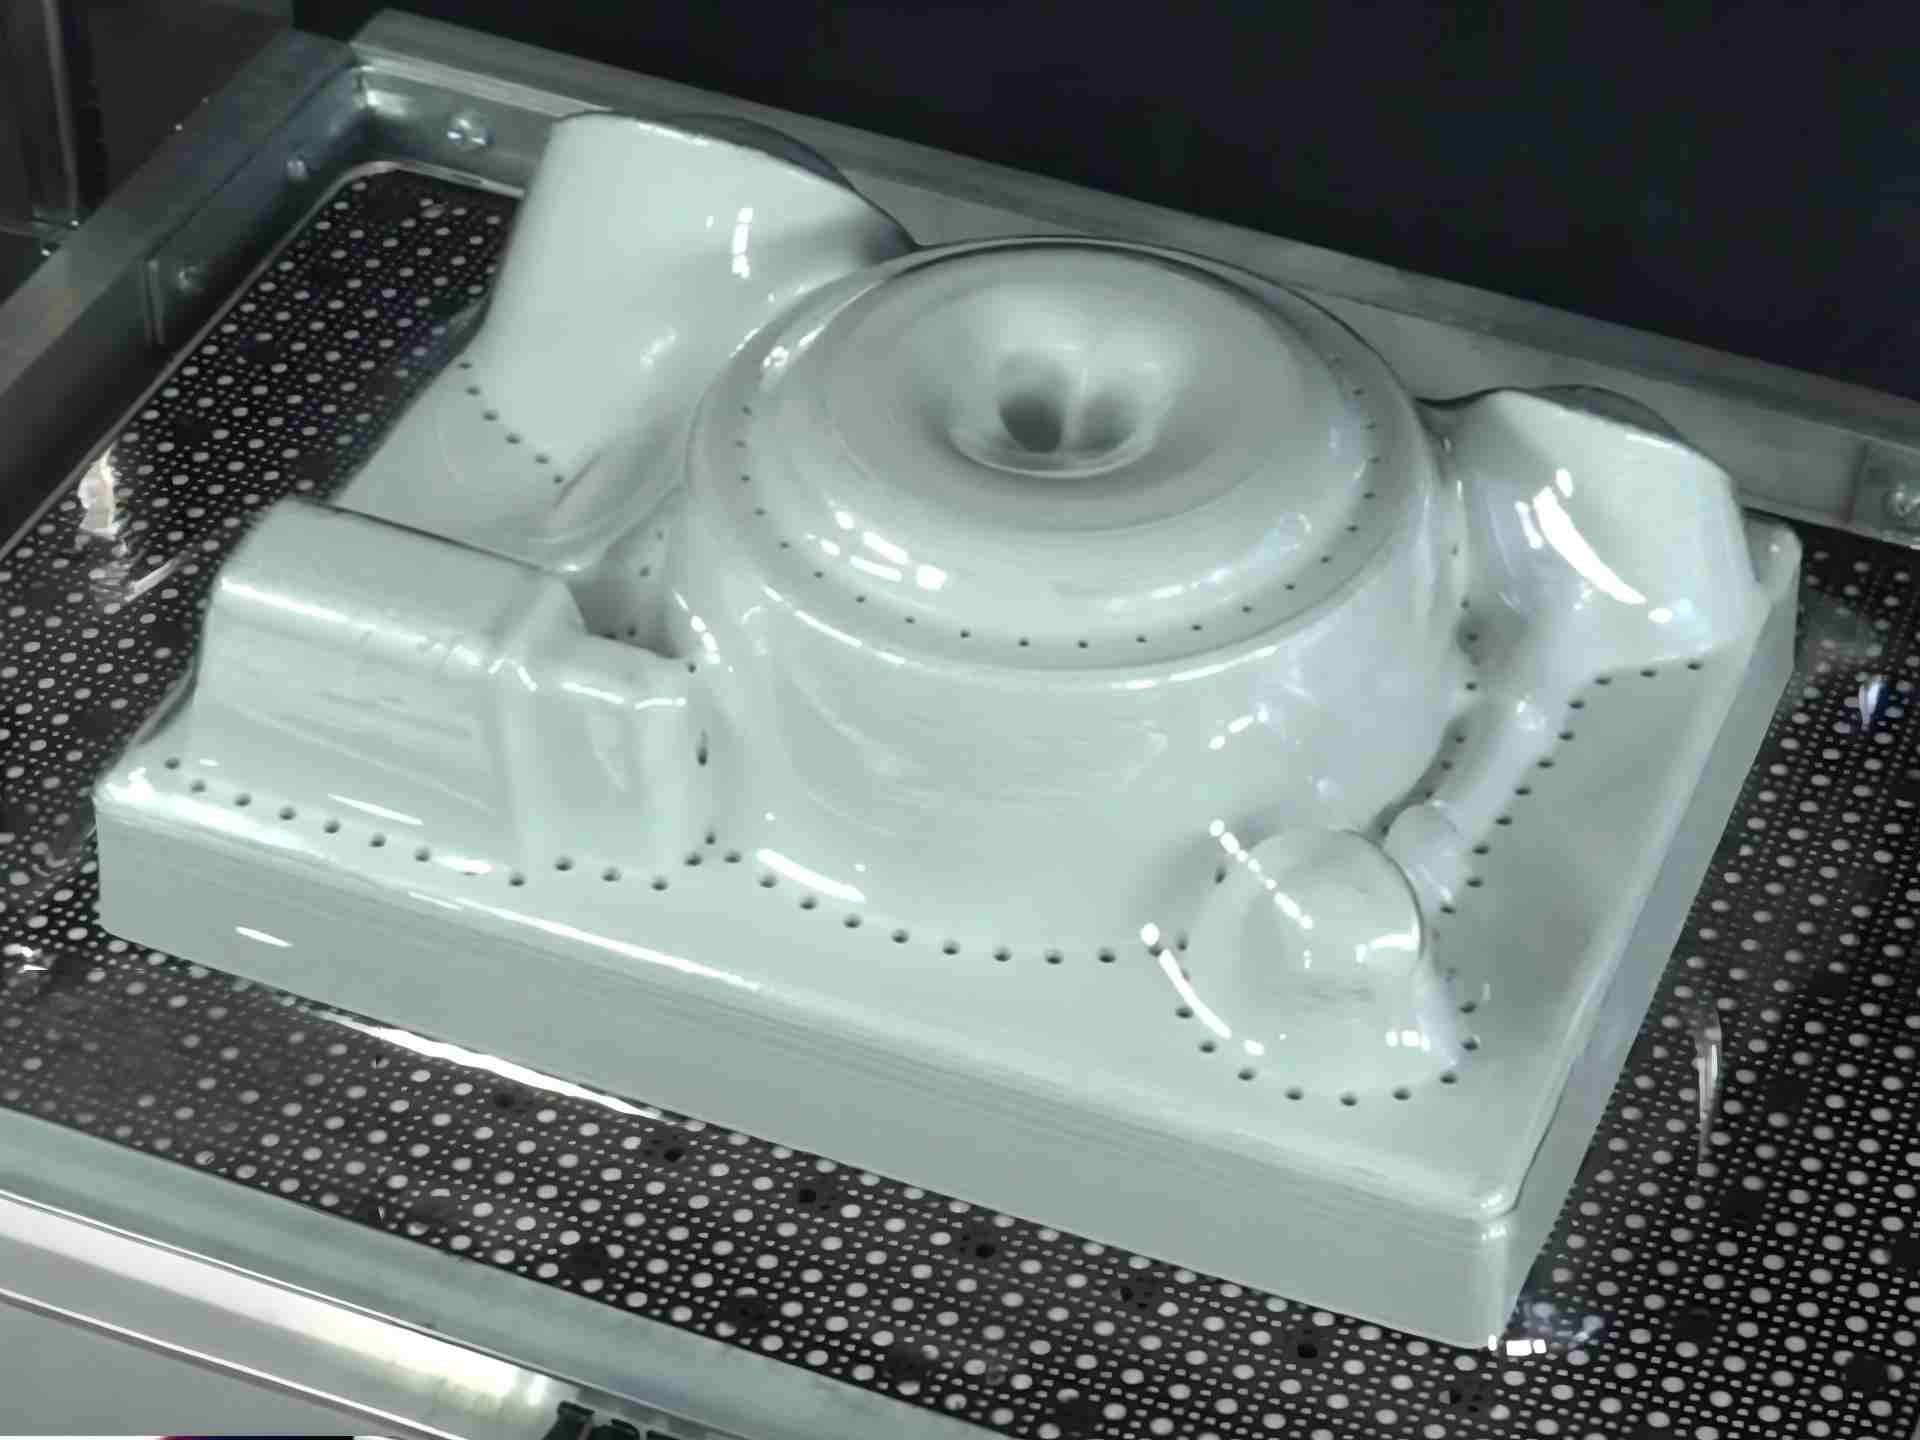
Achieving a specific texture requires planning: apply texture to the master, then replicate via mold (epoxy, composite gelcoat, or direct CNC texturing on aluminum). For tactile surfaces, consider micro-texture sandblasting or chemical etching on metal molds.
Mold material affects heating and cooling:
(Short verbal table — use when presenting on your site)
Choosing the right vacuum forming mold is a trade-off among cost, cycle time, surface finish, longevity, and environmental impact. For rapid prototyping, 3D-printed and wooden molds let you iterate fast. For medium runs, epoxy and composite molds hit a sweet spot. For long-life, precision and speed, aluminum is the gold standard. Use hybrid approaches where one material alone doesn’t deliver everything you need — for example, metal cores with polymer faces, or 3D-printed masters that are plated or coated to extend life. Implement basic maintenance and monitoring to extend mold life and keep parts consistent.
Q: Which mold type gives the best surface finish?
A: Polished aluminum provides the best and most repeatable mirror finish. Epoxy and composite molds with careful finishing can approach it at lower cost.
Q: Can I vacuum form directly on a 3D printed mold?
A: Yes for low-temp plastics and short runs if you protect the print with an epoxy coat and ensure the material’s heat resistance. For hotter plastics or longer runs, use a plated or machined face.
Q: How long should draft angles be?
A: Draft angle depends on depth and polymer; 0.5°–3° is common. Deeper draws benefit from larger drafts.
Q: What’s plug assist and when should I use it?
A: A plug pushes or pre-stretches the sheet before vacuuming — use it for deep draws, to control wall thickness, and reduce thinning at corners.
Q: How do I choose mold material for recycled plastics?
A: Test the forming temperature and drawability first. Composites or aluminum are safer for variable recycled materials because they tolerate more process variation.
Q: Are silicone molds suitable for industrial runs?
A: Silicone is great for short runs and complex parts with undercuts, but not ideal for high-temperature or high-volume continuous production.
Q: How do I extend mold life?
A: Use appropriate surface finishes, correct release agents, avoid sharp edges that wear, log cycle counts, repair promptly, and store molds in a controlled environment.
Q: Is it cheaper to invest in aluminum tooling right away?
A: For very high volumes, yes. But for early-stage products or uncertain designs, start with cheaper prototyping molds (3D print/epoxy) to validate design before investing in aluminum.

TKP Plastic is China's leading provider of vacuum forming solutions. We are defined by our commitment to innovation, uncompromising quality, and total customer satisfaction. Our expertise enables us to deliver projects that excel in cost-effectiveness, intricate design, and sustainable manufacturing. Partner with TKP to bring your vision to life with precision and reliability.