Talk to Our Engineer, Get a Solution in 20 minutes
Our engineers are the expert in vacuum forming products, you can let them know any requirements and specific demands, then they work out the solution soonest and send back it for free.
How 3D Printing Is Turning Thermoforming From Slow Gatekeeper Into Creative Accelerator
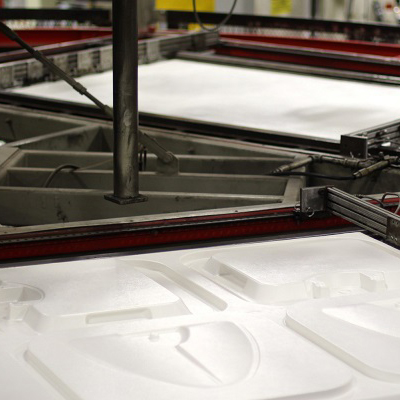
Thermoforming used to be the patient workhorse of plastics: reliable, economical at scale, and quietly present in everything from vending-machine panels to niche sink liners. Today it’s learning to move fast. When shops combine thermoforming with additive manufacturing, the result isn’t just quicker prototypes — it’s a different way of designing and producing that shrinks risk, stretches creativity, and treats tooling as a living digital asset. Below is a deeper, more human look at how that actually plays out on the shop floor and at the design table.
A Real Shop Story About Printing Tooling That Keeps Production Moving
This isn’t marketing fluff — it’s the kind of shop story you hear over a lunch-break coffee: a line stop avoided because someone printed a spare clamp at 2 a.m., a mould revision that took hours instead of weeks, a designer who could try a bold bowl shape and fail fast. The practical takeaway: bringing printing in-house reduces the tiny, frequent delays that otherwise become big schedule and cost problems.
Faster Iterations, Built-In Complexity, And Less Inventory Headache
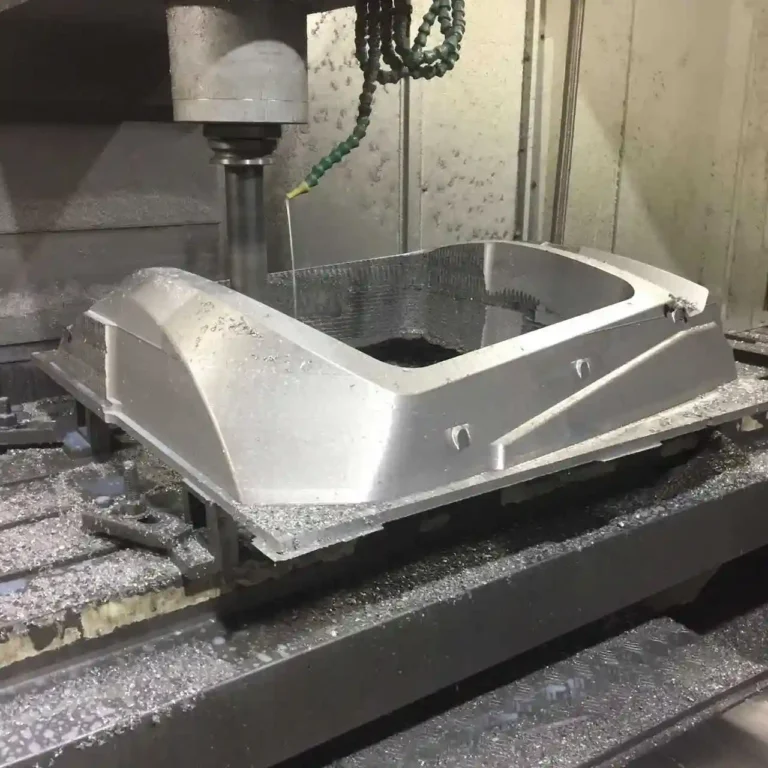
Think of 3D printing as your shop’s short-order kitchen for tooling. Instead of waiting for a CNC slot, you get a usable mold or jig the next day. That changes decisions:
For custom sinks this means trying integrated features — hidden drain pathways, ergonomic bowls, molded accessory channels — without a huge upfront machining bill.
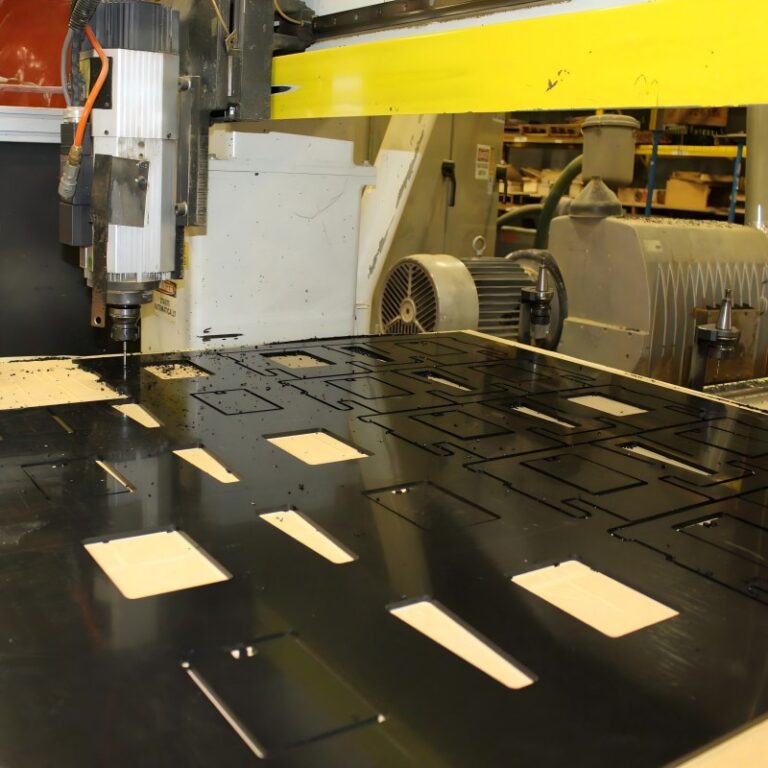
Match The Printing Method To Heat, Volume, And Finish Needs
A few practical pairings that shop teams actually use:
Rule: Let the forming temperature, expected cycles, and visible finish drive the process choice — not brand hype.
Small CAD Choices That Cut Surprises On The Floor
Here are the practical, slightly counterintuitive design choices experienced shops use:
These aren’t theoretical tips — they’re the difference between a “printed prototype” and a “printed production mold.”
How A Team Moves From Sketch To A Customer-Ready Basin In Days, Not Months
Imagine a designer sketches a sink with a stepped bowl and integrated soap tray. Workflows can look like this:
The point: cost and time to iterate are small enough that riskier, more interesting designs become practical.
Less Downtime, Fewer Suppliers, And Cleaner Margins
The biggest wins are often invisible in part cost comparisons:
These cumulative benefits often show in lead time, quote win-rate, and customer satisfaction more than in single-part unit cost.
Common Mistakes Teams Make — And How To Fix Them Quickly
A little upfront engineering saves lots of firefighting later.
Where To Read Process Windows, Material Guidance, And Case Studies
If you want lab-grade process windows, material datasheets, or case studies of shops that scaled printed tooling into production, the white papers and case studies from printer and resin makers are good next reads. They give practical temperature, dwell, and finishing numbers that you can translate into controlled test runs.
A Quality System Keeps Fast Iteration From Becoming Sloppy
Rapid iteration only helps if you control revisions. ISO 9001:2015 and similar quality systems capture change history, inspection criteria, and part acceptance — that’s how quick changes stay repeatable and reliable.
When Tooling Is Digital, Design The Process Too
The big shift here is mental: with additive tooling, you stop designing a part in isolation and start designing a part-plus-process. That means thinking about thermal response, vacuum routing, handling, and replaceable wear features in CAD from day one. When those ideas live in the model, you ship better parts faster.

TKP Plastic is China's leading provider of vacuum forming solutions. We are defined by our commitment to innovation, uncompromising quality, and total customer satisfaction. Our expertise enables us to deliver projects that excel in cost-effectiveness, intricate design, and sustainable manufacturing. Partner with TKP to bring your vision to life with precision and reliability.