Talk to Our Engineer, Get a Solution in 20 minutes
Our engineers are the expert in vacuum forming products, you can let them know any requirements and specific demands, then they work out the solution soonest and send back it for free.
A Deep, Human-First Exploration Of Thermoforming’s Roots, How The Process Evolved, And Why Modern Designers And Manufacturers Still Turn To Thermoforming For Fast, Flexible, And Sustainable Plastic Parts.
Heat a sheet of plastic, press it, cut it out — sounds easy, right? That simplicity is deceptive. Thermoforming looks like magic until you start chasing wall-thickness problems, surface defects, and a customer who wants three changes before lunch. This is a human story: curious tinkerers, wartime shortages, post-war consumer fever, and engineers who learned to make scale feel like craft again. Read on for the origin story, the practical rules that still matter, and a few new directions that should change how you design parts next year.
In the 1800s, inventors played with celluloid and early resins like people experiment with new apps today: with bright-eyed curiosity and lots of failed prototypes. These early sheets could be softened and shaped. Craftsmen made combs, frames, and early photographic parts. It was messy and artisanal — more trial than theory — but the revelation was simple and enduring: heated polymers behave like metal clay. With care, you can make something predictable out of something soft.
By the early 1900s chemistry had matured. Phenolics and Bakelite gave predictable behavior; ovens and heaters got more precise. Tooling was still mostly hand-worked, but repeatability crept in. Makers learned the basics the hard way: how much heat to apply, how long to dwell, and when a sheet would tear instead of stretch. Those lessons are still taught today in DFM reviews — just with better data and fewer burned fingers.
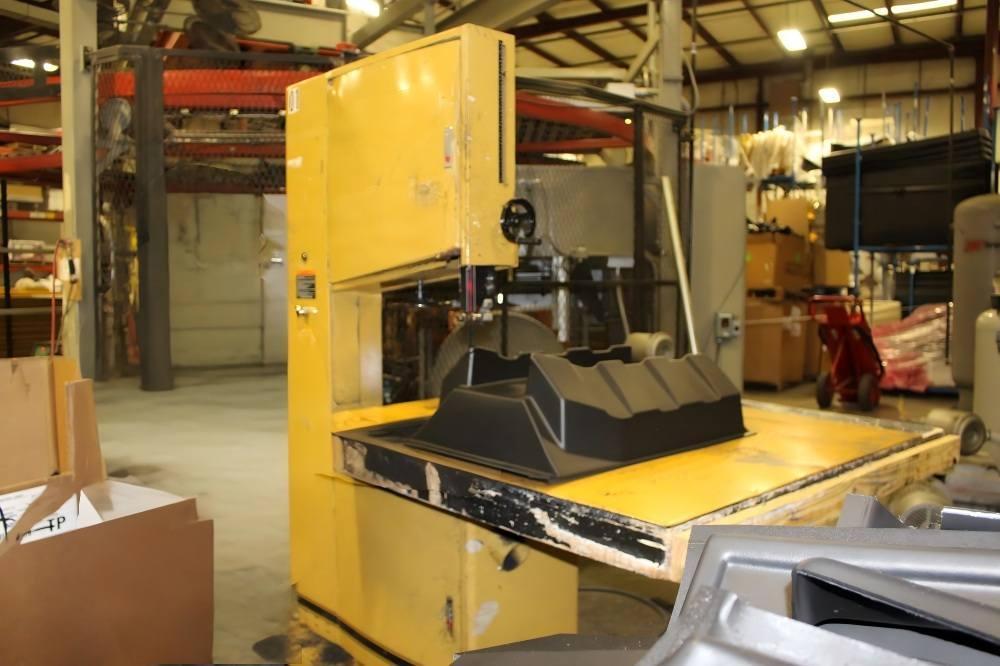
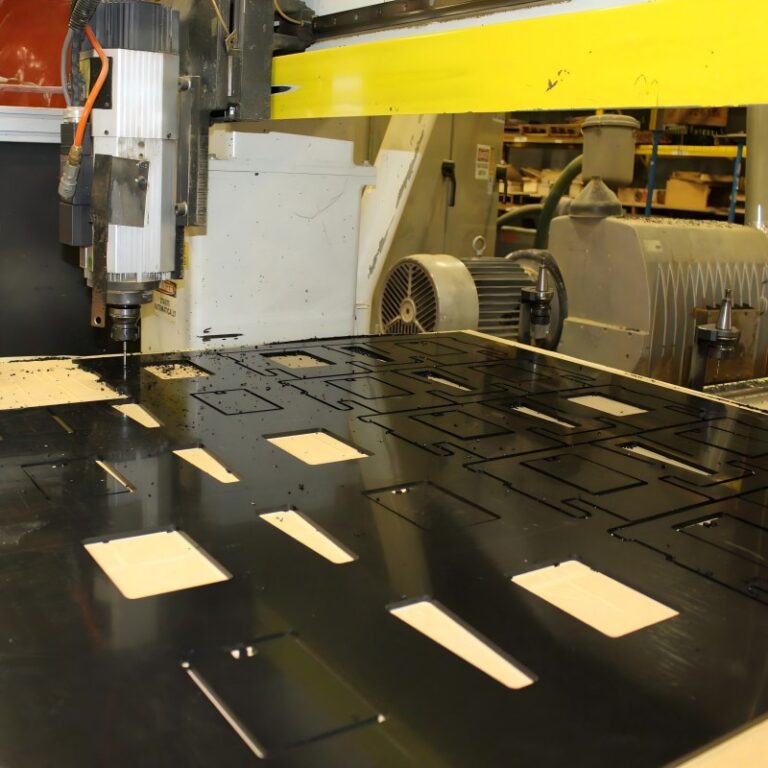
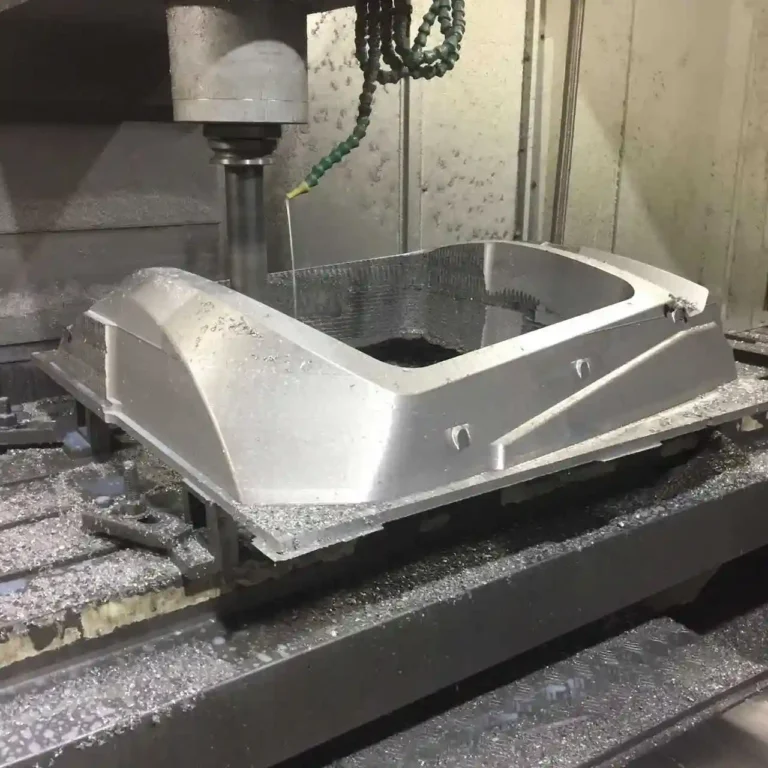
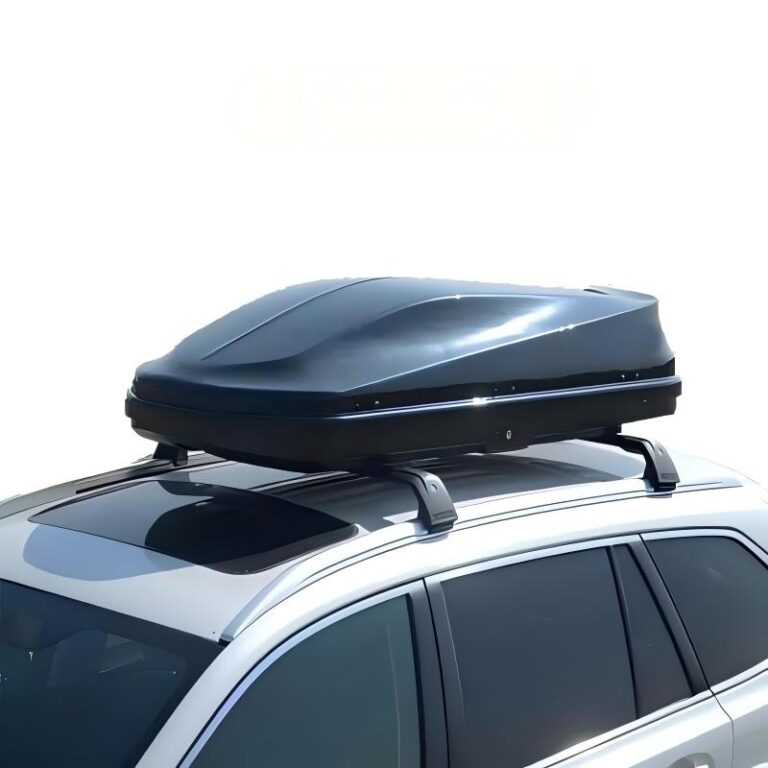
After World War II the world wanted more: more toys, more radios, more cars. Thermoforming slid into that space because it offered a rare combination: low upfront tooling cost and fast output for medium-to-large parts. Vacuum forming, pressure forming, plug assists and, later, twin-sheet techniques became industrial staples. Materials like ABS, PET, HIPS, polycarbonate and polypropylene matured too — not because someone wanted a shinier product, but because the market demanded parts that worked and wouldn’t bankrupt a startup.
Thermoforming isn’t one thing. It’s a toolbox.
Materials matter like personalities matter in a team: ABS is blunt and reliable; PETG is transparent and clean; polycarbonate is strong but demanding. Choose by function, not by habit. Ask: will this part see sunlight, chemicals, sterilization? Will it be painted or printed? Those answers pick the resin.
Engineer Tip: If surface clarity is critical, plan for pressure forming + a polished tool. If cost is king, HIPS or PP will be kinder to budgets.
Good design for thermoforming looks boring on paper — and glorious in reality. Here are rules with numbers you can use:
These aren’t dogma — they’re cheap mistakes avoided.
A small shop once ran a medical tray that kept failing because the edge curled during sterilization. They tried faster cooling, different trim patterns, and even changed conveyors. The answer? A switch from a near-glass PETG to a slightly more forgiving PET blend and a small redesign that moved a thin feature away from the sterilization seam. The fix was a combination of materials knowledge and a willingness to change the drawing — not more process control.
Why mention this? Because thermoforming is rarely solved by a single tweak. It’s a conversation between material, tool, and process.
Thermoforming grew from curiosity to industry because it answers a simple business question: how do you make reasonably beautiful, reasonably strong, reasonably large parts without paying injection-mold prices? Today the work is smarter — simulations, printed tooling, and circular materials — but the core remains human: a designer’s choice, a toolmaker’s patience, and a process engineer’s stubbornness. If you design with those people in mind up front, thermoforming rewards you with speed, scale, and surprisingly good looks.
Q: When Should I Choose Thermoforming Over Injection Molding?
A: When parts are medium-to-large, tooling cost needs to stay low, or projected volumes don’t justify injection-molding molds.
Q: How Do I Avoid Thin Spots In Deep Draws?
A: Use plug assists, start with thicker sheet gauges, add generous radii, or switch to twin-sheet for hollow geometries.
Q: Are Thermoformed Plastics Recyclable?
A: Many are (PET, HDPE, PP). Mono-material parts and clear resin labeling dramatically improve recyclability.
Q: Can Thermoforming Deliver Optical Clarity?
A: Yes — especially with PETG and polycarbonate plus pressure forming and polished tooling.
Q: How Fast Can I Prototype?
A: With printed molds and soft tooling, prototypes can often be produced in days. Larger or high-finish parts will take longer.
Q: What Should I Include When Requesting A Quote?
A: CAD files, desired material, expected annual quantity, finish/texture, and any regulatory or environmental constraints.

TKP Plastic is China's leading provider of vacuum forming solutions. We are defined by our commitment to innovation, uncompromising quality, and total customer satisfaction. Our expertise enables us to deliver projects that excel in cost-effectiveness, intricate design, and sustainable manufacturing. Partner with TKP to bring your vision to life with precision and reliability.