Talk to Our Engineer, Get a Solution in 20 minutes
Our engineers are the expert in vacuum forming products, you can let them know any requirements and specific demands, then they work out the solution soonest and send back it for free.

You have a 3D design. You know the part you need. But the gap between a digital file and a physical, production-ready plastic component can feel like a black box—especially when you are sourcing from overseas.
That uncertainty costs time and creates hesitation. At TKP Plastic, we believe transparency is the foundation of trust. We want you to know exactly what happens after you send us your files. Understanding the process empowers you to make better design decisions, anticipate timelines, and avoid costly mistakes.
Here is the complete, step-by-step journey of how your 3D drawing becomes a finished vacuum-formed part.
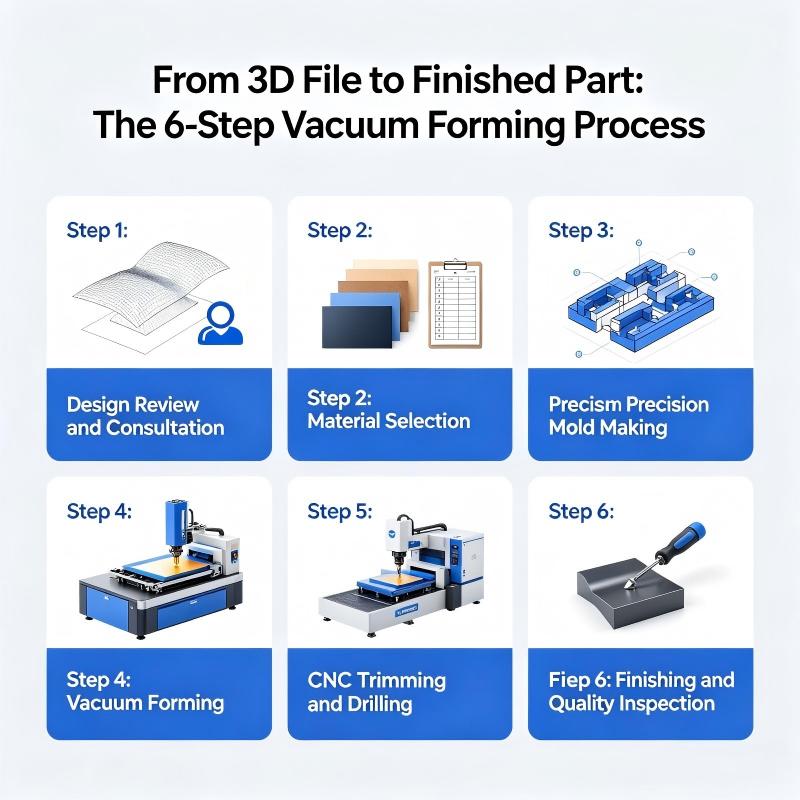
What happens: The process begins the moment we receive your 3D drawings. We accept standard formats like IGS, STP, or STEP. If you do not have a formal design and only have a concept or sketch, our engineering team can work with you to develop one.
What we look for: We are not just checking if the file opens. Our engineers analyze your design for manufacturability. We assess draft angles, undercuts, and wall thickness distribution—factors that directly impact whether your part can be formed successfully . This is where we catch issues before they become expensive problems.
Why it matters: This is the “measure twice, cut once” phase. Identifying potential forming challenges at the design stage saves weeks of rework later.
What happens: Based on your part’s application, we recommend the optimal material and thickness. We work with a wide range of thermoplastics, including ABS, HDPE, PETG, Acrylic, PC, ASA, and UV-resistant grades.
How we decide: The choice depends on your part’s requirements:
Why it matters: The wrong material will fail in the field. But the right material, at the right thickness, balances performance and cost. We select materials that can be processed reliably at temperatures between 115–165°C to ensure consistent results .
What happens: This is where your digital design becomes physical. We primarily machine molds from high-quality cast aluminum using advanced CNC technology . Aluminum provides excellent thermal conductivity, allowing the plastic to cool uniformly and consistently.
The mold design process:
Mold material options: While aluminum is our standard for production molds, we also work with epoxy or urethane tooling boards for prototyping and low-volume runs . Wood molds are available for extremely large parts or non-production applications.
Why it matters: The mold is the heart of the process. A precise, well-designed mold delivers consistent parts, run after run. Our CNC capabilities allow us to produce molds for parts up to 4m × 2.5m in size, with thicknesses ranging from 0.1mm to 15mm .
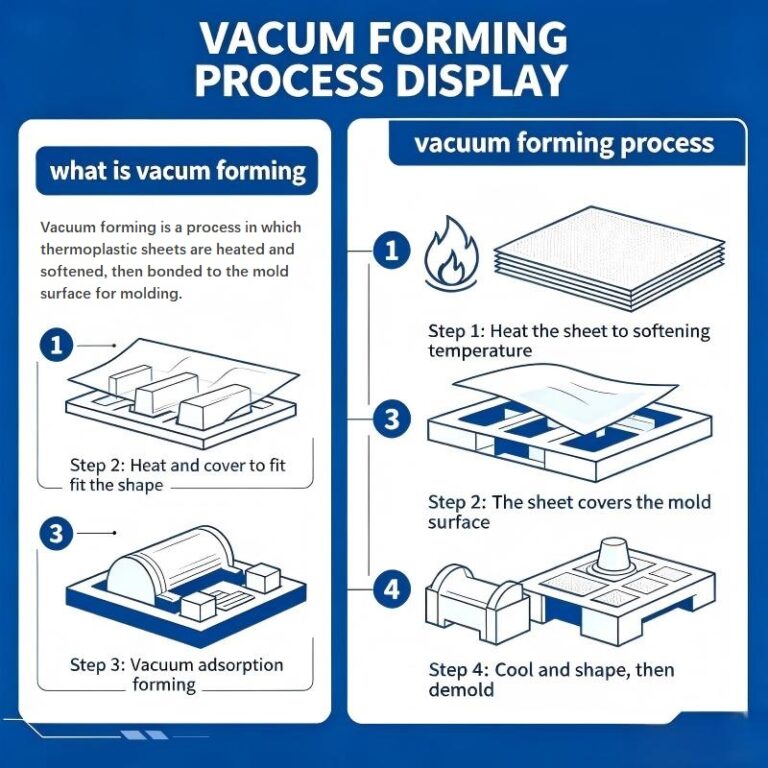
What happens: The mold is installed in our vacuum forming machine, and the forming process begins:
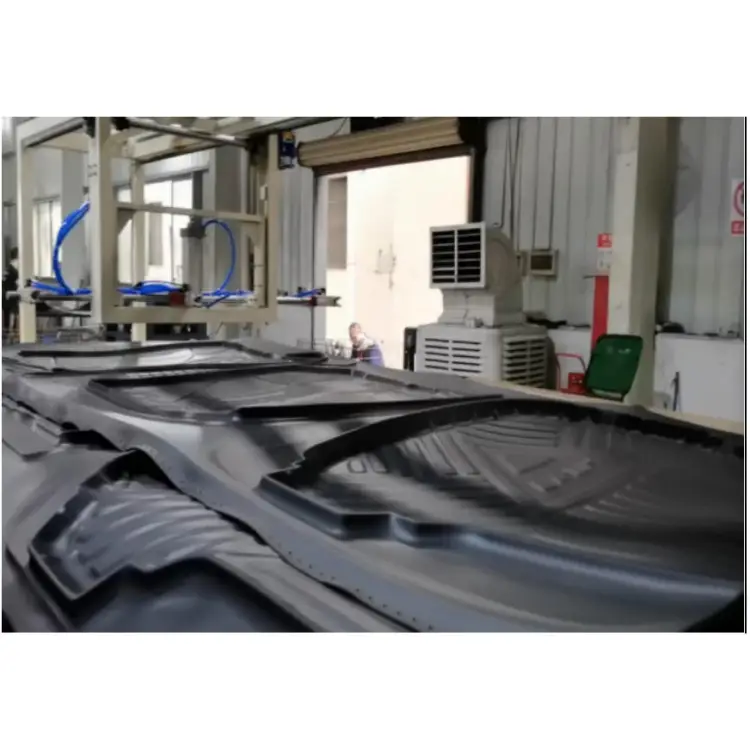
Why it matters: This is the core transformation. The vacuum pressure ensures every detail of your mold—from fine textures to sharp edges—is faithfully replicated in the final part .
What happens: The formed part is not yet finished. It comes off the machine with excess material around the edges—known as “flash.” We use precision CNC routing to trim the part to its final dimensions .
We cut out openings, drill holes, and create mounting points. This step demands accuracy. Some parts, particularly those used in automotive, medical, or display applications, require complex 5-axis trimming to achieve the required geometry .
Why it matters: A perfectly formed part is useless if it is poorly trimmed. Our CNC trimming ensures consistent dimensions across every part in your order, meeting the tight tolerances you specified.
What happens: After trimming, the part moves to finishing:
Quality control: Every part is then inspected by our quality control team. We verify dimensions, color consistency, and overall quality against your specifications. Our experienced inspectors use precise measuring tools to ensure every part meets the required standards before it is released for packaging and shipping.
Why it matters: Quality cannot be an afterthought. Rigorous inspection at this stage prevents defective parts from reaching you—and prevents costly delays at your end .
When you know the journey your product takes—from design review through to final inspection—you become a better partner. You can spot potential issues early. You can ask the right questions. You can plan your timelines with confidence.
At TKP Plastic, we combine advanced manufacturing technology with 15 years of export experience. Our in-house capabilities—from mold design to CNC trimming—give us complete control over quality and lead time. Most orders ship within 15 days, not because we rush, but because we have removed the bottlenecks.
Ready to take the next step? Send us your 3D drawings, and let us show you how seamless the journey from concept to finished part can be.

TKP Plastic is China's leading provider of vacuum forming solutions. We are defined by our commitment to innovation, uncompromising quality, and total customer satisfaction. Our expertise enables us to deliver projects that excel in cost-effectiveness, intricate design, and sustainable manufacturing. Partner with TKP to bring your vision to life with precision and reliability.